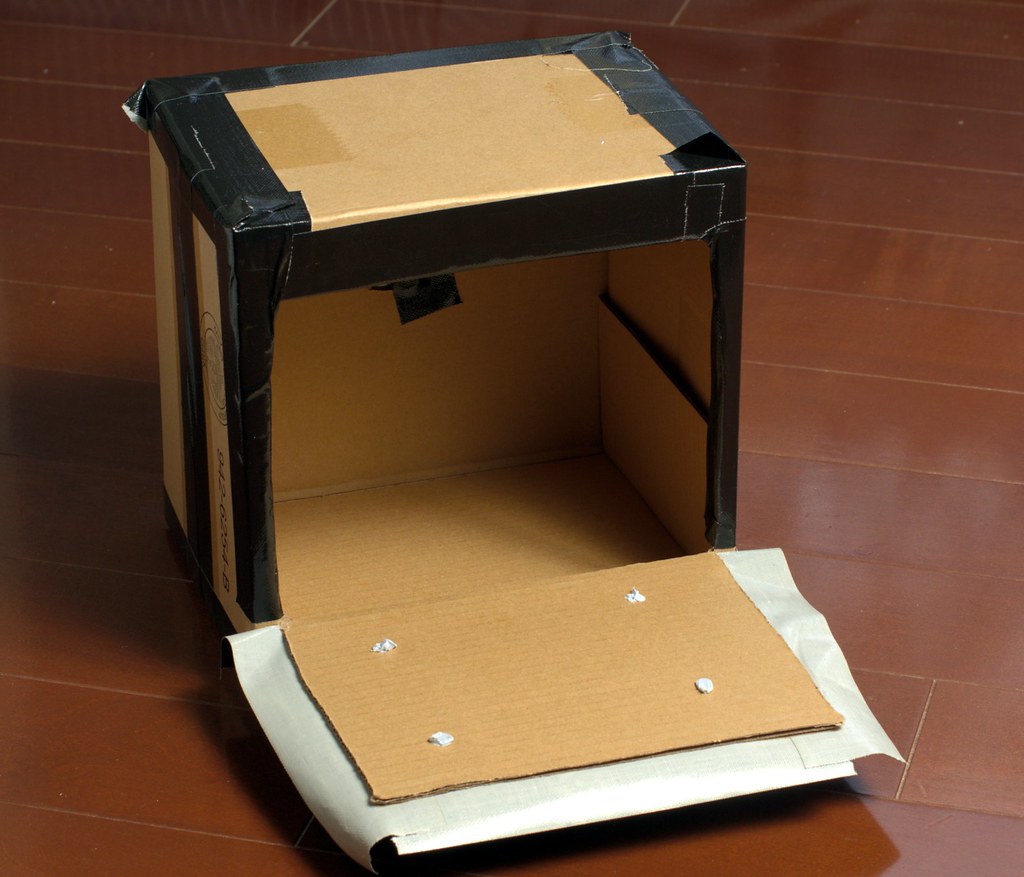
A darkroom isn't complicated. It's a room with absolutely no light coming in from the outside. It's not necessarily dark, though; unlike film, paper is not sensitive to red light, so you don't have to be in darkness. A "safelight" that emits red light, and only red light, will let you see what you're doing - you can actually see the image appear on the paper when you develop, which is really cool.
To develop the paper you need three trays for developer, stop (not really necessary) and fixer. A few darkroom tongs are cheap and a good idea since you don't want to get smelly chemicals on your fingers, or accidentally mix them. If you develop your own film you can use the same stop bath (if you use that) and fixer you already have. And if you're just playing around you don't need to be very careful with temperature or time, so a thermometer or clock isn't all that critical. You can see the paper develop so just stop when the image starts looking really dark and solid.
What about developer? Normally you would use special paper developer for photo paper, rather than film developer. Paper developer is a lot more active, giving you good contrast prints, and is incidentally a lot cheaper too. You can use film developer for paper, but it's much slower and will apparently give you low contrast, washed-out looking prints.
But this only applies for printing from a negative. A film negative is low contrast - the difference between the darkest and lightest areas isn't that large. But here we use paper as the negative. We're exposing the real world on the paper, not a low-contrast negative. And the real world is usually really contrasty, with huge light difference between the darkest and brightest areas. So as it turns out, film developer is a decent match for this use, and results in fairly good paper negatives.

Safelight
Lightbulbs are hot, need mains power and waste a lot of energy, and they're gradually disappearing the world over. The new hot item here is LED lighting, with many manufacturers pushing LED bulbs. Long before the advent of the white LED's that's made this lighting revolution possible we've had red LED's used in all kind of electronics. A red LED is cheap, will only emit light in fairly specific frequencies, can run on low power and lasts almost forever. Perfect.
My first idea was to get an LED bicycle light. But since I can never have too much complications in my life I decided to go for a more DIY solution. In an electronics store I found an LED "brakelight" kit for car rear brake lights, with a circuit board and male socket. I got the kit, a dozen red 1W LED's, a matching female socket1 and a light switch. For power I used an 12v transformer I had lying around.
To keep with a filmy theme I attached the socket to a 35mm film canister, with the cable going through the lid. A second white film canister fits nicely over the light itself and serves as a diffuser. I hang it in the bathroom simply by wrapping the cord twice around the curtain rod over the bathtub. The light is plenty strong - so strong that I hang a towel over it to dampen it a little - and seems to be completely safe for the paper as far as I can tell.
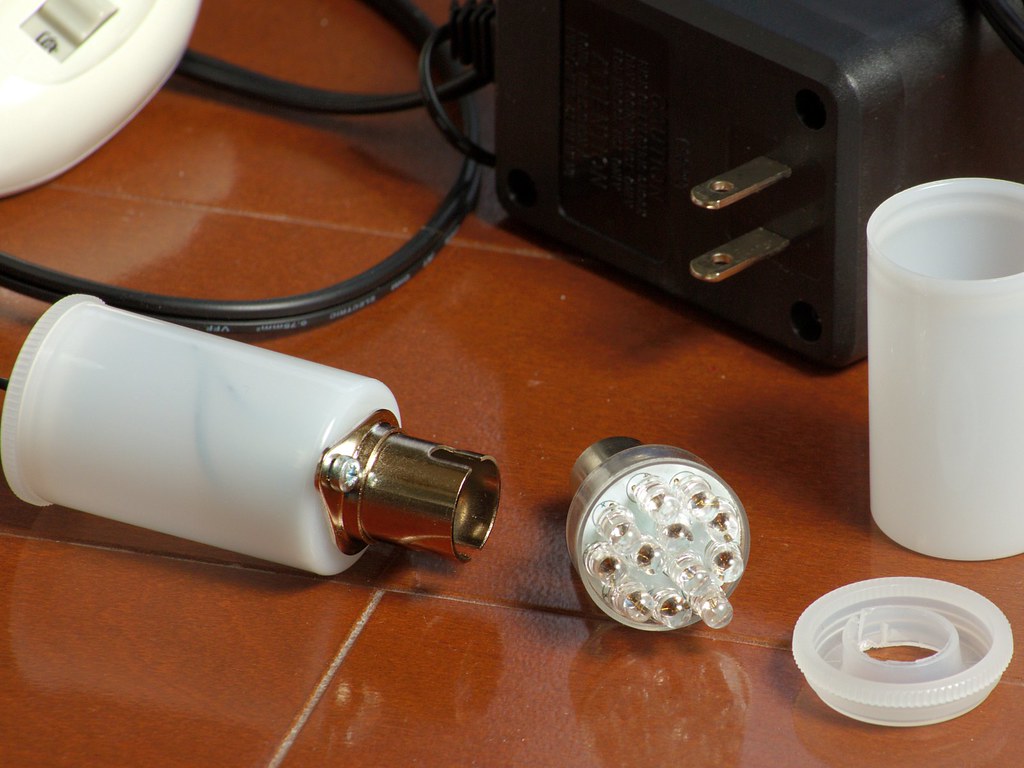
Here's the safelight disassembled. I've soldered the LED's and other components (just a diode and a resistor - it really is very simple), attached it to the socket, attached the male socket to the base canister and done the cabling. Works very nicely.
Making our bathroom really dark turned out to be the most complicated part of this - much more so than making and using the pinhole camera. The room has to be really dark - any stray light from outside will ruin the paper. I tried an elaborate idea with light-proof curtain fabric and a frame made of PVC tubing that utterly failed - on the positive side I now have several meters of tubes and connectors to use for something else. I finally just taped the fabric over our bathroom door (What would I do without gaffer's tape?2). I also close the doors to the washroom outside, making doubly sure I won't have any unwanted light seeping in. Seems to work, if not all that practical.
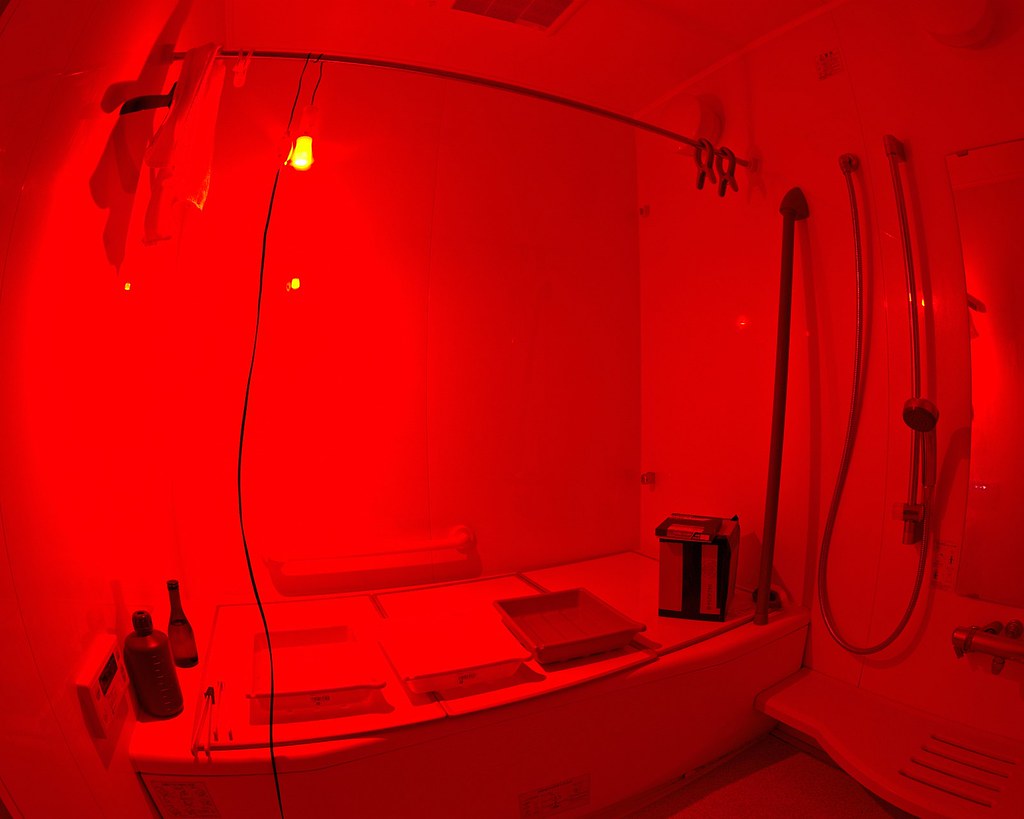
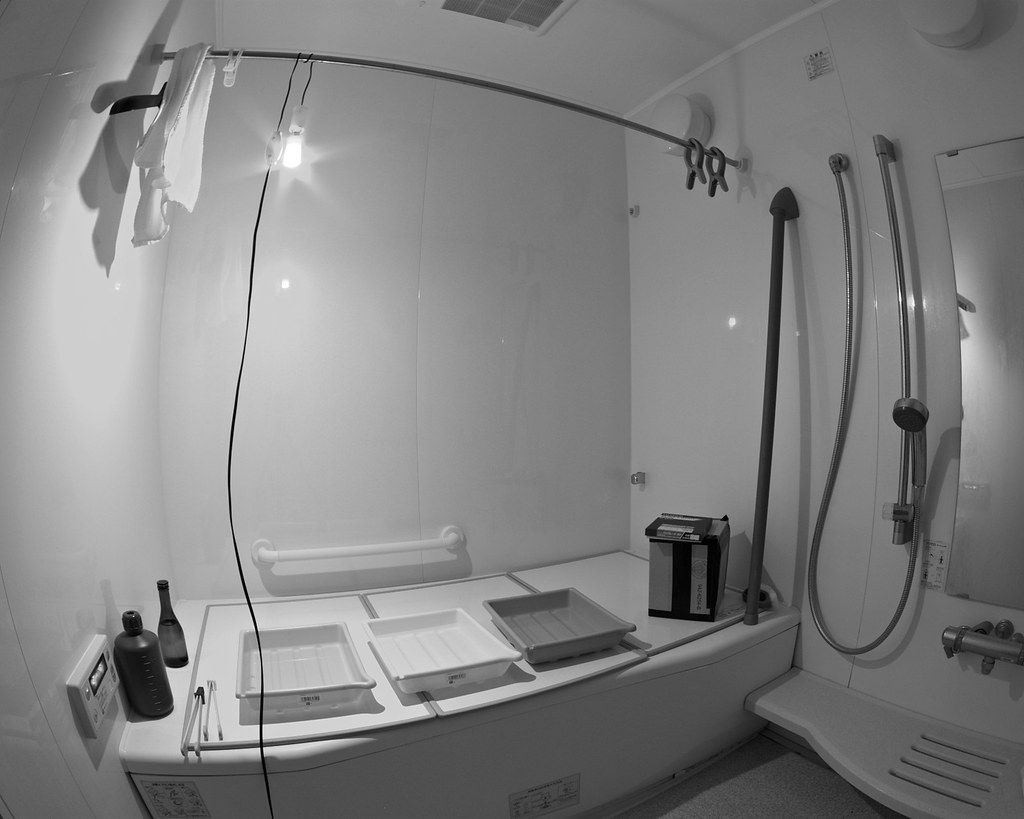
Here's the darkroom, in color and converted to BW (click to enlarge). There's plenty of space, running water and efficient ventilation, and I get a good-sized workbench simply by using the bathtub covers. If I ever get an enlarger I can place it along the wall out of the picture on the right.
This kind of picture, incidentally, is a perfect task for a digital camera. The light is nearly monochromatic, and getting the exposure right without trial and error is almost hopeless. Had I tried to take this on film for whatever reason I'd had to take a whole roll and probably still not get an image I was happy with.
I've taken two pictures with the pinhole camera so far - you don't get much of a frame rate when you have to return and develop each image before loading the next. I used 13x18 cm Fuji multigrade RC paper, the cheapest one in the local shop. The pinhole exposure calculator specified 1.5 minutes for hazy sunshine but that seems a little short, and even two minutes was not really enough. I'll try three minutes next time.
The lack of red sensitivity means the images become just a little odd - blue skies go very bright while reddish objects, like brick buildings, become dark. The long exposure time means that anything moving, like people, disappear completely. And there is of course no way to judge the composition; you find out what you got in the frame only when you develop the negative.
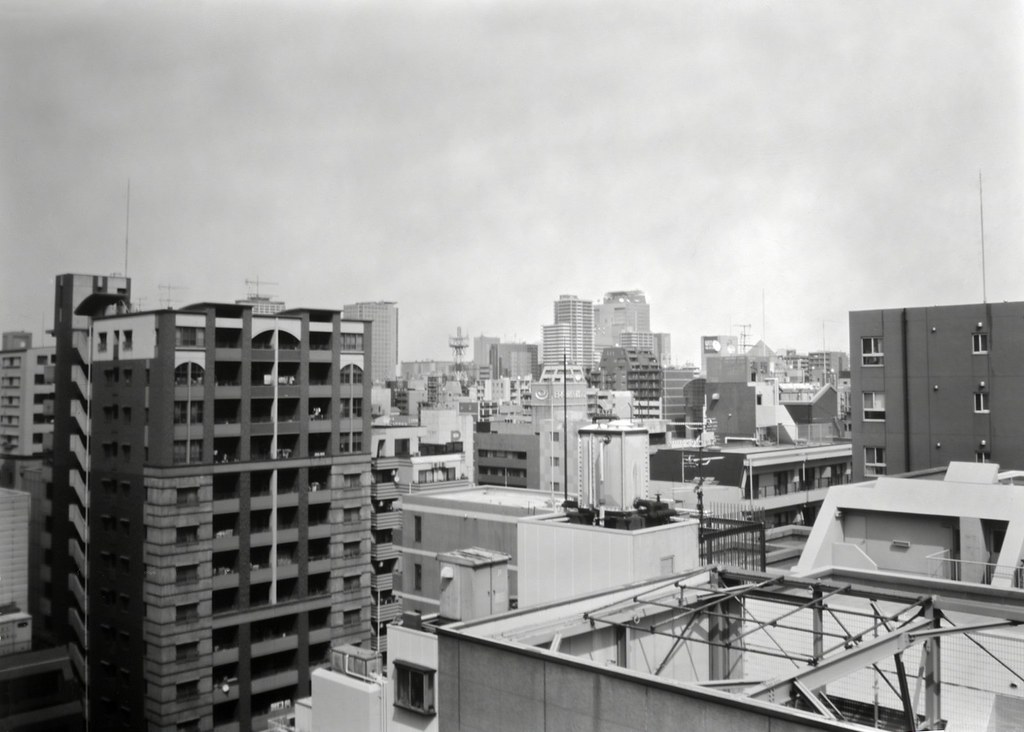
The first shot, my standard view out from our balcony. I actually got a bit of motion blur here since the box shifted a little halfway through the exposure. But the tonality is nice, and evokes an old-time photography (the lack of red sensitivity is probably the reason; really old films were not red-sensitive either). I especially like the mottled sky that really exaggerates the haziness.
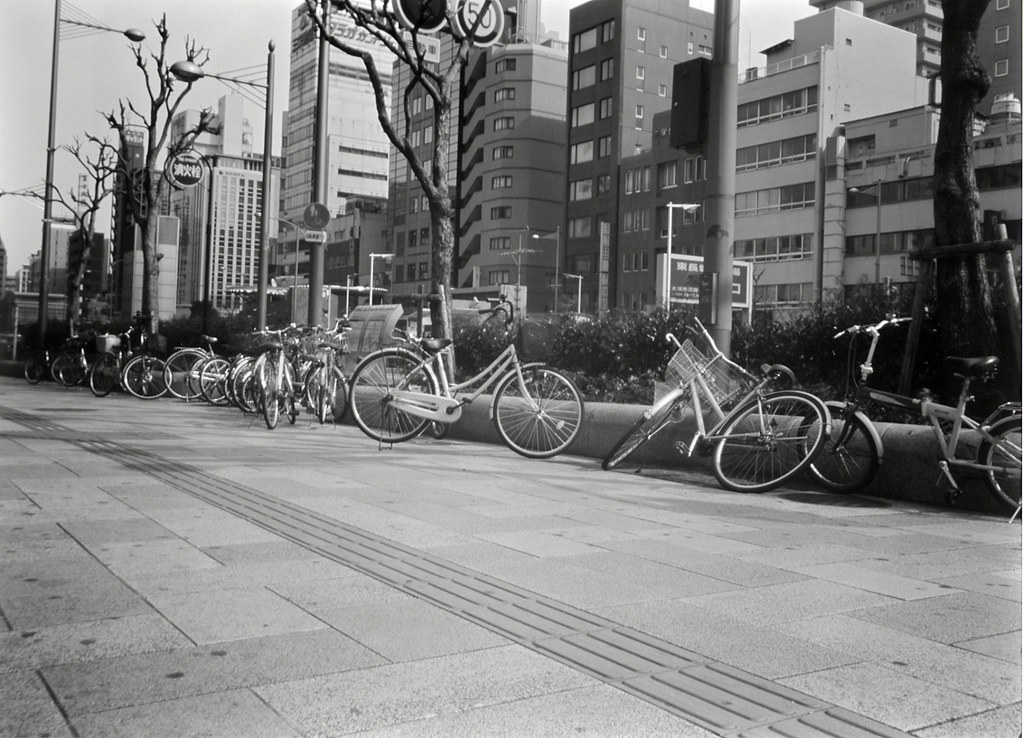
The second shot, with an unfortunate "composition malfunction". I wanted to have the bikes near the bottom with the skyline breaking into the top near the right end. But the wall I used for support apparently sloped a bit without me noticing so instead you get this inspirational study of an Osaka sidewalk. This was stable, and there's more detail than in the first shot; notice that the wheel spokes are clearly visible in the closer bikes, for instance. At the very top you can see how the red traffic signs have turned black. This is a busy sidewalk, by the way, with lots of people passing by, but with two minute exposure there's not even a hint of people in the image.
What's next? I think I'll take a few more shots with this camera but it's not very practical of course. I got lucky recently and found some 4x5 format film holders in decent condition for cheap in a camera store. So I'll build a more solid camera that can fit a film holder; that way I can bring and shoot several exposures before I have to develop them again. And perhaps, instead of a pinhole I'll try using a lens. Even a very simple glass lens is a real improvement on a pinhole, with more detail and much faster exposure. Of course, then we'll have to start worrying about whether and how to focus, and shutter speeds may get too fast to do manually. But those are problems to solve later.
--
#1 That way I'll save literally minutes of time switching the LED lamp when the this one breaks some forty years from now. How's that for optimizing my time?
#2 I'd have to make things properly instead, I guess, instead of cobbling stuff together with tape.